
// Electronics & Microcontrollers
Fixing My Laptop
● COMPLETE
Troubleshooting Steps
- Diagnosis: I started by diagnosing unresponsive keys on my laptop. By testing the inputs, I isolated the issue and identified a damaged connection ribbon cable between the keyboard and the motherboard.
- Sourcing: After researching the specific laptop model and the type of ribbon connector used, I determined that replacing the entire keyboard assembly was the most effective fix, and I sourced a compatible replacement.
[!NOTE] Hardware Debug Box: Isolating the Fault When the keys stopped working, the immediate fear was a dead motherboard or liquid damage. However, by plugging in an external USB keyboard (which worked perfectly) and then testing the continuity of the internal keyboard’s membrane, I isolated the fault entirely to a micro-tear in the fragile ribbon cable.
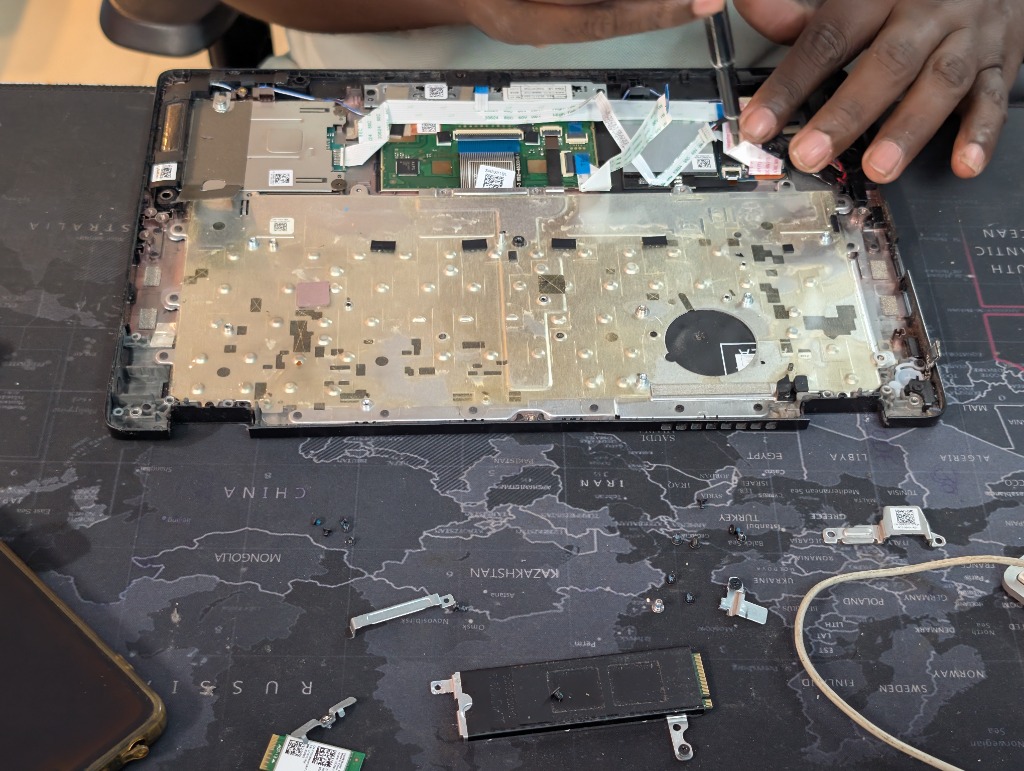
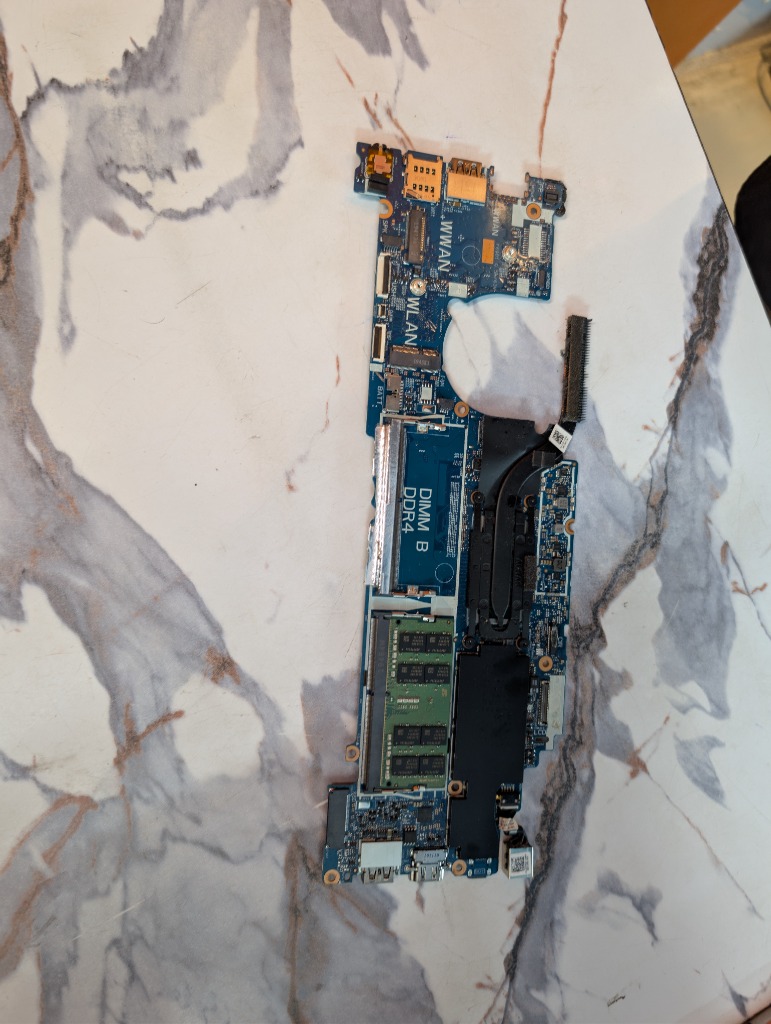
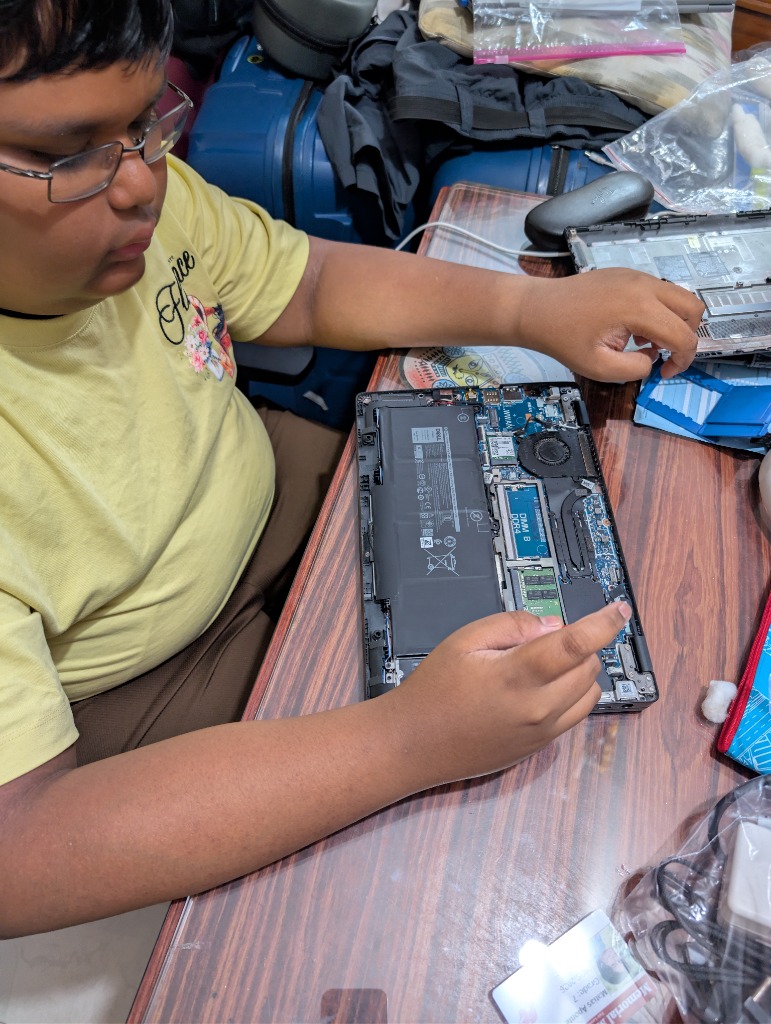
- Disassembly & Repair: I carefully disassembled the laptop casing. Crucially, I disconnected the internal battery first for safety, applied anti-static precautions, unseated the fragile motherboard ribbon connectors using a spudger, and successfully swapped the component.
Key Skills Learned
Beyond just getting the computer fully functional again, this repair taught me precision hardware handling and the importance of anti-static precautions. Most importantly, it gave me the hardware troubleshooting confidence and precision electronics handling required to independently maintain and repair consumer electronics without fear of breaking them.
Skills Demonstrated
Hardware TroubleshootingElectronics AssemblyDisassembly & Repair
Gallery
×![Enlarged view]()